Introduction
Here is the failure pattern that brings more callbacks than any other in off-grid system installation. The system was commissioned in the dry season. During those first few months it performed well, the battery charged fully every day, autonomy was comfortable, and the client was satisfied. Then the rainy season arrived. Cloud cover increased, irradiance dropped, and within two weeks the system was failing to fully recharge the battery bank on consecutive days. By the third week of persistent overcast conditions the battery was hitting its low voltage cutoff every night. The installer came back, checked everything, found nothing wrong, and could not explain why a system that worked perfectly for four months was now failing consistently.
The explanation is straightforward. The array was sized to annual average peak sun hours, not to the worst-case monthly figure. In good solar months the array was producing more energy than the system needed. In the worst solar month it was producing significantly less. The surplus in good months does not carry forward to compensate for the deficit in bad months. Each day must balance on its own, and in the worst solar month, this array could not achieve that balance.
Solar array sizing for an off-grid lithium battery system is a worst-month energy balance calculation, not a panel count exercise. Every input in the sizing sequence compounds, and in this post I am going to walk you through each one correctly.
The Correct Sizing Inputs and Why Each One Matters
Before running any numbers, I want to establish the complete set of inputs the array sizing calculation requires, because missing even one of them produces a result that will underperform in the field. Array sizing is a cascading calculation where each input modifies the output of the previous one, and the compounding effect of multiple small errors is what produces arrays that are systematically undersized by 20 to 30 percent without any single obvious mistake.
The primary input is the corrected daily energy demand figure from the load audit. This is the number that captures everything the system must deliver in a day, intentional loads, phantom loads, and inverter efficiency losses all included. If this number is wrong, every downstream calculation is wrong. I covered the methodology for building this figure correctly across the first three posts in this cluster, and I will be using the 4,916Wh daily demand figure from Post 3 as the working example throughout this post.
The second input is worst-month peak sun hours for the installation location. The principle is established here: annual average PSH produces an array that is correctly sized for the average month and undersized for the worst month. For an off-grid system that must perform every day of the year, worst-month PSH is the only defensible design input.
The third input is the array derating factor, which accounts for the gap between STC-rated panel output and real-world delivered output under actual operating conditions. The fourth input is end-to-end charge efficiency, which accounts for losses between the array output and usable energy stored in the battery. Together these four inputs feed a single sizing equation that produces the minimum required array STC rating.
The formal sizing sequence is:
Array STC Rating (W) = E_daily / (PSH x Derating Factor x Charge Efficiency)
Where:
E_daily = corrected daily energy demand (Wh)
PSH= worst-month peak sun hours (h/day)
Derating Factor = real-world output as fraction of STC rating (e.g., 0.80)
Charge Efficiency = end-to-end charging efficiency as decimal (e.g., 0.92)
Every section that follows builds one of these inputs with the rigor it deserves. By Section 9 we will have a complete worked example that applies all of them together.
For the daily energy demand figure this calculation depends on, refer to our engineering guides on off-grid load audit methodology and battery sizing, peak load vs average load in off-grid system design, and how to account for phantom loads and standby power in off-grid energy budgets.
Peak Sun Hours: Finding the Right Number for Your Location
Peak sun hours is the single most misunderstood input in solar array sizing, and the confusion almost always comes from conflating it with daylight hours. They are not the same thing, and using daylight hours in place of peak sun hours will produce an array that is dramatically oversized on paper but chronically undersized in practice.
Peak sun hours is defined as the equivalent number of hours per day at which solar irradiance would need to be exactly 1,000W/m2 to deliver the same total daily energy as the actual variable irradiance profile across that day. A location that receives 6 hours of daylight with irradiance ramping from 200W/m2 at sunrise to a peak of 900W/m2 at noon and back down to 200W/m2 at sunset does not have 6 peak sun hours. It has significantly fewer, because most of that daylight window is at irradiance levels well below 1,000W/m2. In practice, a tropical location with 12 hours of daylight typically has between 4.5 and 6 peak sun hours depending on season and cloud cover.
The correct source for worst-month PSH data is one of three tools I use on every design. NASA POWER is a free, browser-based tool that provides monthly average daily irradiance data for any location on earth using coordinates. PVGIS, maintained by the European Commission’s Joint Research Centre, provides similar monthly irradiance data with additional options for fixed-tilt optimization. SolarGIS provides higher-resolution commercial irradiance data for professional applications. For most residential and light commercial off-grid designs, NASA POWER and PVGIS produce sufficiently accurate worst-month figures.
The process I follow is to enter the installation coordinates into NASA POWER or PVGIS, extract the monthly average daily irradiance figures for all 12 months, identify the month with the lowest figure, and use that figure as the PSH input for the array sizing calculation. I do not average across months, I do not use the annual mean, and I do not apply a safety margin on top of the worst-month figure because the worst-month figure itself is already a monthly average that includes good and bad days within that month.
The equation that connects PSH to array energy output is:
E_array = P_array_STC x PSH x Derating Factor
Where:
E_array = daily energy delivered by the array under real conditions (Wh)
P_array_STC = array STC rated output (W)
PSH = worst-month peak sun hours (h/day)
Derating Factor = real-world output as fraction of STC rating
Typical Worst-Month PSH by Climate Zone:
Coastal West Africa (rainy season)-> 3.8 to 4.5 h/day
Inland savanna / Sahel -> 4.5 to 5.5 h/day
Mediterranean (Dec/Jan) -> 2.5 to 3.5 h/day
Source: NASA POWER or PVGIS using installation GPS coordinates
Array Derating: Why Your Panels Never Deliver STC Output
Every solar panel sold on the market carries a rated output measured under Standard Test Conditions: 1,000W/m2 irradiance, 25 degrees Celsius cell temperature, and an air mass of 1.5. These conditions exist in a laboratory. They do not exist on a rooftop or ground mount in any real installation, and the gap between STC-rated output and real-world delivered output is what the derating factor accounts for. Ignoring this gap, or applying an optimistic derating factor, is one of the most reliable ways to produce an array that underperforms every month of the year.
The derating factor is the product of five individual loss components, each of which reduces the array’s effective output independently. The first component is temperature derating, which I will cover in detail in Section 4 because it is the dominant loss factor in hot climate installations. The remaining four components are soiling losses, wiring and connection losses, module mismatch losses, and MPPT charge controller conversion efficiency.
Soiling losses account for the reduction in panel output caused by dust, dirt, bird droppings, and other surface contamination. In dry and dusty environments with infrequent cleaning, soiling losses of 3 to 7 percent are common. In wetter climates where rainfall provides natural cleaning, soiling losses are typically 1 to 3 percent. I use a soiling factor of 0.95 for most installations, representing a 5 percent loss.
Wiring and connection losses represent the resistive losses in the DC cables between the panels and the charge controller. A properly designed system with correctly sized DC cables and clean, tight connections should have wiring losses of 1 to 3 percent. I design for a maximum of 2 percent wiring loss on the DC array side.
Module mismatch losses arise from slight differences in Isc, Voc, and power output between modules in the same string. Modern panels from reputable manufacturers have tight binning tolerances, and mismatch losses on new installations are typically 1 to 2 percent. MPPT charge controller conversion efficiency represents the internal losses in the controller as it converts array DC input voltage to battery charging voltage. Quality MPPT controllers operate at 93 to 97 percent conversion efficiency at mid to full load.
Combining these factors into a single derating figure:
Derating Factor = f_temp x f_soil x f_wire x f_mismatch x f_mppt
Example for a tropical installation:
f_temp = 0.835 (16.5% temperature loss at 66°C cell temp)
f_soil = 0.95 (5% soiling loss)
f_wire = 0.98 (2% wiring loss)
f_mismatch = 0.98(2% mismatch loss)
f_mppt = 0.95(5% MPPT conversion loss)

Derating Factor = 0.835 x 0.95 x 0.98 x 0.98 x 0.95 = 0.718
That combined derating factor of 0.718 means this array delivers approximately 72 percent of its STC-rated output under real tropical operating conditions. An array designer who assumed 85 percent derating instead of 72 percent would undersize the array by nearly 15 percent before accounting for any other factor. In the worst solar month, that 15 percent gap is the difference between a battery that fully recharges and one that enters a progressive deficit that compounds day after day.
It is worth being explicit about the energy flow direction here: the derating factor acts on panel output before charge efficiency acts on stored energy. The correct sequence is Panel Output → Derating → Controller Output → Charge Efficiency → Battery Stored Energy. These are two separate loss stages applied to two different points in the energy path.
Temperature Derating in Hot Climates

Temperature derating is the loss factor that surprises installers most consistently, because the effect is invisible during system operation and the magnitude is larger than most people expect. A panel sitting in full tropical sun does not operate at 25 degrees Celsius. It operates at cell temperatures that routinely reach 55 to 70 degrees Celsius, and every degree above 25 degrees Celsius costs real output power in a predictable and quantifiable way.
The relationship between cell temperature and panel output is defined by the maximum power temperature coefficient, published in every panel datasheet as a percentage per degree Celsius. For crystalline silicon panels, this coefficient typically falls between negative 0.35 and negative 0.45 percent per degree Celsius. At negative 0.40 percent per degree Celsius, a panel operating at 65 degrees Celsius cell temperature has lost:
Temperature Loss (%) = |Pmax_coeff| x (T_cell – T_STC)
Temperature Loss = 0.40% x (65°C – 25°C) = 0.40% x 40°C = 16%
That 16 percent output loss from temperature alone is before any other derating factor is applied. On a 400W panel, that represents 64W of lost output every hour the panel is operating at peak sun conditions in a hot climate. The cell temperature itself is calculated from ambient temperature using the Nominal Operating Cell Temperature rating:
T_cell = T_ambient + (NOCT – 20) x (G / 800)
Where:
T_cell = actual cell temperature (°C)
T_ambient = ambient air temperature (°C)
NOCT = nominal operating cell temperature from datasheet (°C)
G = actual irradiance (W/m2)
Applying this to a tropical installation with 35 degrees Celsius ambient temperature, a NOCT of 45 degrees Celsius, and irradiance of 1,000W/m2:
T_cell = 35 + (45 – 20) x (1000 / 800) = 35 + 31.25 = 66.25°C
At 66 degrees Celsius cell temperature and a temperature coefficient of negative 0.40 percent per degree Celsius, the temperature derating factor is:
f_temp = 1 + (Pmax_coeff x (T_cell – 25))
f_temp = 1 + (-0.004 x (66.25 – 25)) = 1 – 0.165 = 0.835
This means the panel delivers 83.5 percent of its STC-rated output from temperature effects alone under peak tropical sun conditions. In cooler climates where cell temperatures rarely exceed 45 degrees Celsius, temperature derating is a much smaller factor, typically 5 to 8 percent, which is why derating factors of 0.85 or higher are reasonable in temperate installations but dangerously optimistic in tropical ones.
Battery Charge Efficiency and End-to-End System Losses
The array sizing equation requires one more loss factor beyond irradiance and derating, and it is the one that sits between the array output and the usable energy that actually reaches the battery. This is end-to-end charge efficiency, and while LiFePO4 chemistry is genuinely efficient at the cell level, the path from array output to stored battery energy involves several conversion and resistive loss stages that collectively reduce the effective efficiency to a figure that must be accounted for in the sizing calculation.
At the cell level, LiFePO4 batteries operate at a charge efficiency of 97 to 99 percent during the constant current bulk phase. This figure represents the ratio of energy stored in the cells to energy delivered to the battery terminals, and it is genuinely high compared to lead-acid chemistry. This is the figure most designers cite when they decide charge efficiency is not worth including in the sizing calculation. That decision is a mistake, because cell-level efficiency is not the same as end-to-end system charge efficiency.
The complete end-to-end charging path includes the MPPT charge controller’s internal conversion losses, the DC wiring resistance between the controller output and the battery terminals, the battery’s own internal resistance which generates heat during charging, and the BMS switching losses during active protection events. Each of these stages contributes a small loss, and their combined effect reduces end-to-end charge efficiency to between 90 and 94 percent on a well-designed system.
The formal correction to the array sizing equation that incorporates charge efficiency is:
Array STC Rating (W) = E_daily / (PSH x Derating Factor x η_charge)
Where:
E_daily = corrected daily energy demand (Wh)
PSH = worst-month peak sun hours (h/day)
Derating Factor = real-world array output fraction (e.g., 0.718 for tropical)
η_charge = end-to-end charge efficiency as decimal (e.g., 0.92)
The charge efficiency term sits in the denominator, which means a lower charge efficiency requires a larger array to deliver the same usable daily energy to the load. Reducing end-to-end charge efficiency from 0.94 to 0.90 increases the required array size by approximately 4.4 percent. On a 5kW array that represents an additional 220W of required panel capacity, or roughly one additional 400W panel, driven entirely by system wiring and component losses that were never accounted for.
Tilt Angle and Orientation for Worst-Month Optimization

Tilt angle is one of those design variables that most off-grid installers treat as a roofing constraint rather than an engineering decision, and that approach consistently leaves seasonal performance on the table. For a fixed installation with no tracking, the tilt angle determines how seasonal energy yield is distributed across the year, and for an off-grid system that must perform in its worst solar month, the tilt optimization target is not annual maximum yield but worst-month maximum yield.
The general principle is that a steeper tilt angle shifts energy yield toward the winter months by presenting the panel face more directly to the lower sun angles of the winter sky. A shallower tilt angle shifts yield toward the summer months when the sun is higher in the sky. For locations in the northern hemisphere, a south-facing array tilted at the site’s latitude angle maximizes annual average yield. Tilting steeper than latitude shifts yield toward winter. Tilting shallower than latitude shifts yield toward summer.
For tropical off-grid installations located between 0 and 15 degrees latitude, the seasonal irradiance variation is driven more by cloud cover and humidity than by sun angle changes. At these latitudes, the sun angle variation across the year is small, and a tilt of 10 to 15 degrees is typically sufficient to promote self-cleaning rainfall runoff while keeping the panel face reasonably perpendicular to the sun’s path. Steeper tilts at low latitudes do not meaningfully improve worst-month yield and in some cases reduce it by increasing the angle of incidence losses during the months when the sun is at its highest.
The practical recommendation I give for fixed installations in tropical locations is to use a tilt angle equal to the site latitude plus 5 degrees, with a minimum of 10 degrees to ensure adequate drainage and self-cleaning. For locations above 20 degrees latitude, I use PVGIS’s built-in tilt optimization tool to find the tilt angle that maximizes worst-month yield for the specific coordinates, which consistently produces a steeper tilt than the latitude angle alone would suggest.
String Configuration and MPPT Operating Range
String configuration is the aspect of array design that most installers treat as a simple voltage and current arithmetic exercise, and it is more nuanced than that. The number of panels in series determines string voltage, which must stay within the MPPT charge controller’s operating window across the full range of operating temperatures the installation will experience. The number of strings in parallel determines total array current, which must stay within the controller’s maximum input current rating. Getting either of these wrong does not just reduce performance. In the case of string voltage exceeding the controller’s maximum input voltage at cold temperatures, it can permanently damage the controller.
The critical voltage check that must be performed on every string configuration is the cold-morning open circuit voltage calculation. Panel Voc increases as temperature decreases, which means the highest string voltage the controller will ever see occurs on the coldest morning of the year, before any load current is drawn. The calculation is:
Voc_cold = Voc_STC x (1 + Voc_coeff x (T_min – 25))
Where:
Voc_cold   = string open circuit voltage at minimum site temperature (V)
Voc_STC    = panel open circuit voltage at STC from datasheet (V)
Voc_coeff  = voltage temperature coefficient (%/°C, negative value)
T_min      = minimum expected ambient temperature at the site (°C)
Applying this to a string of three panels with Voc_STC of 41V each, a Voc temperature coefficient of negative 0.29 percent per degree Celsius, and a minimum site temperature of 18 degrees Celsius:
String Voc_STC = 3 x 41V = 123V
Voc_cold = 123V x (1 + (-0.0029) x (18 - 25))
Voc_cold = 123V x (1 + 0.020) = 123V x 1.020 = 125.5V
This cold Voc must remain below the MPPT controller’s absolute maximum input voltage with a safety margin of at least 10 percent. At 125.5V against a controller maximum of 150V, this string configuration is safe with a 16 percent margin. If instead a fourth panel were added to the string, the cold Voc would rise to approximately 167V, exceeding the 150V controller limit and making that configuration unsafe regardless of what the nominal operating voltage suggests.
The second check is the hot-afternoon minimum power point voltage. At high cell temperatures, panel Vmp drops significantly, and if it drops below the MPPT controller’s minimum operating voltage, the controller loses lock on the maximum power point and output drops sharply. In practice this check is most critical on systems with short strings operating at high cell temperatures, and it is the reason why a minimum string voltage of 1.25 times the battery voltage is a common design rule of thumb for MPPT systems.
String Configuration Safety Checklist:
Cold Voc check-> must be below controller max input voltage with 10% margin
Hot Vmp check-> must stay above controller minimum MPPT voltage
String current -> must not exceed controller maximum input current rating
Oversizing ratio -> keep array STC rating within 1.0 to 1.30 x controller rating
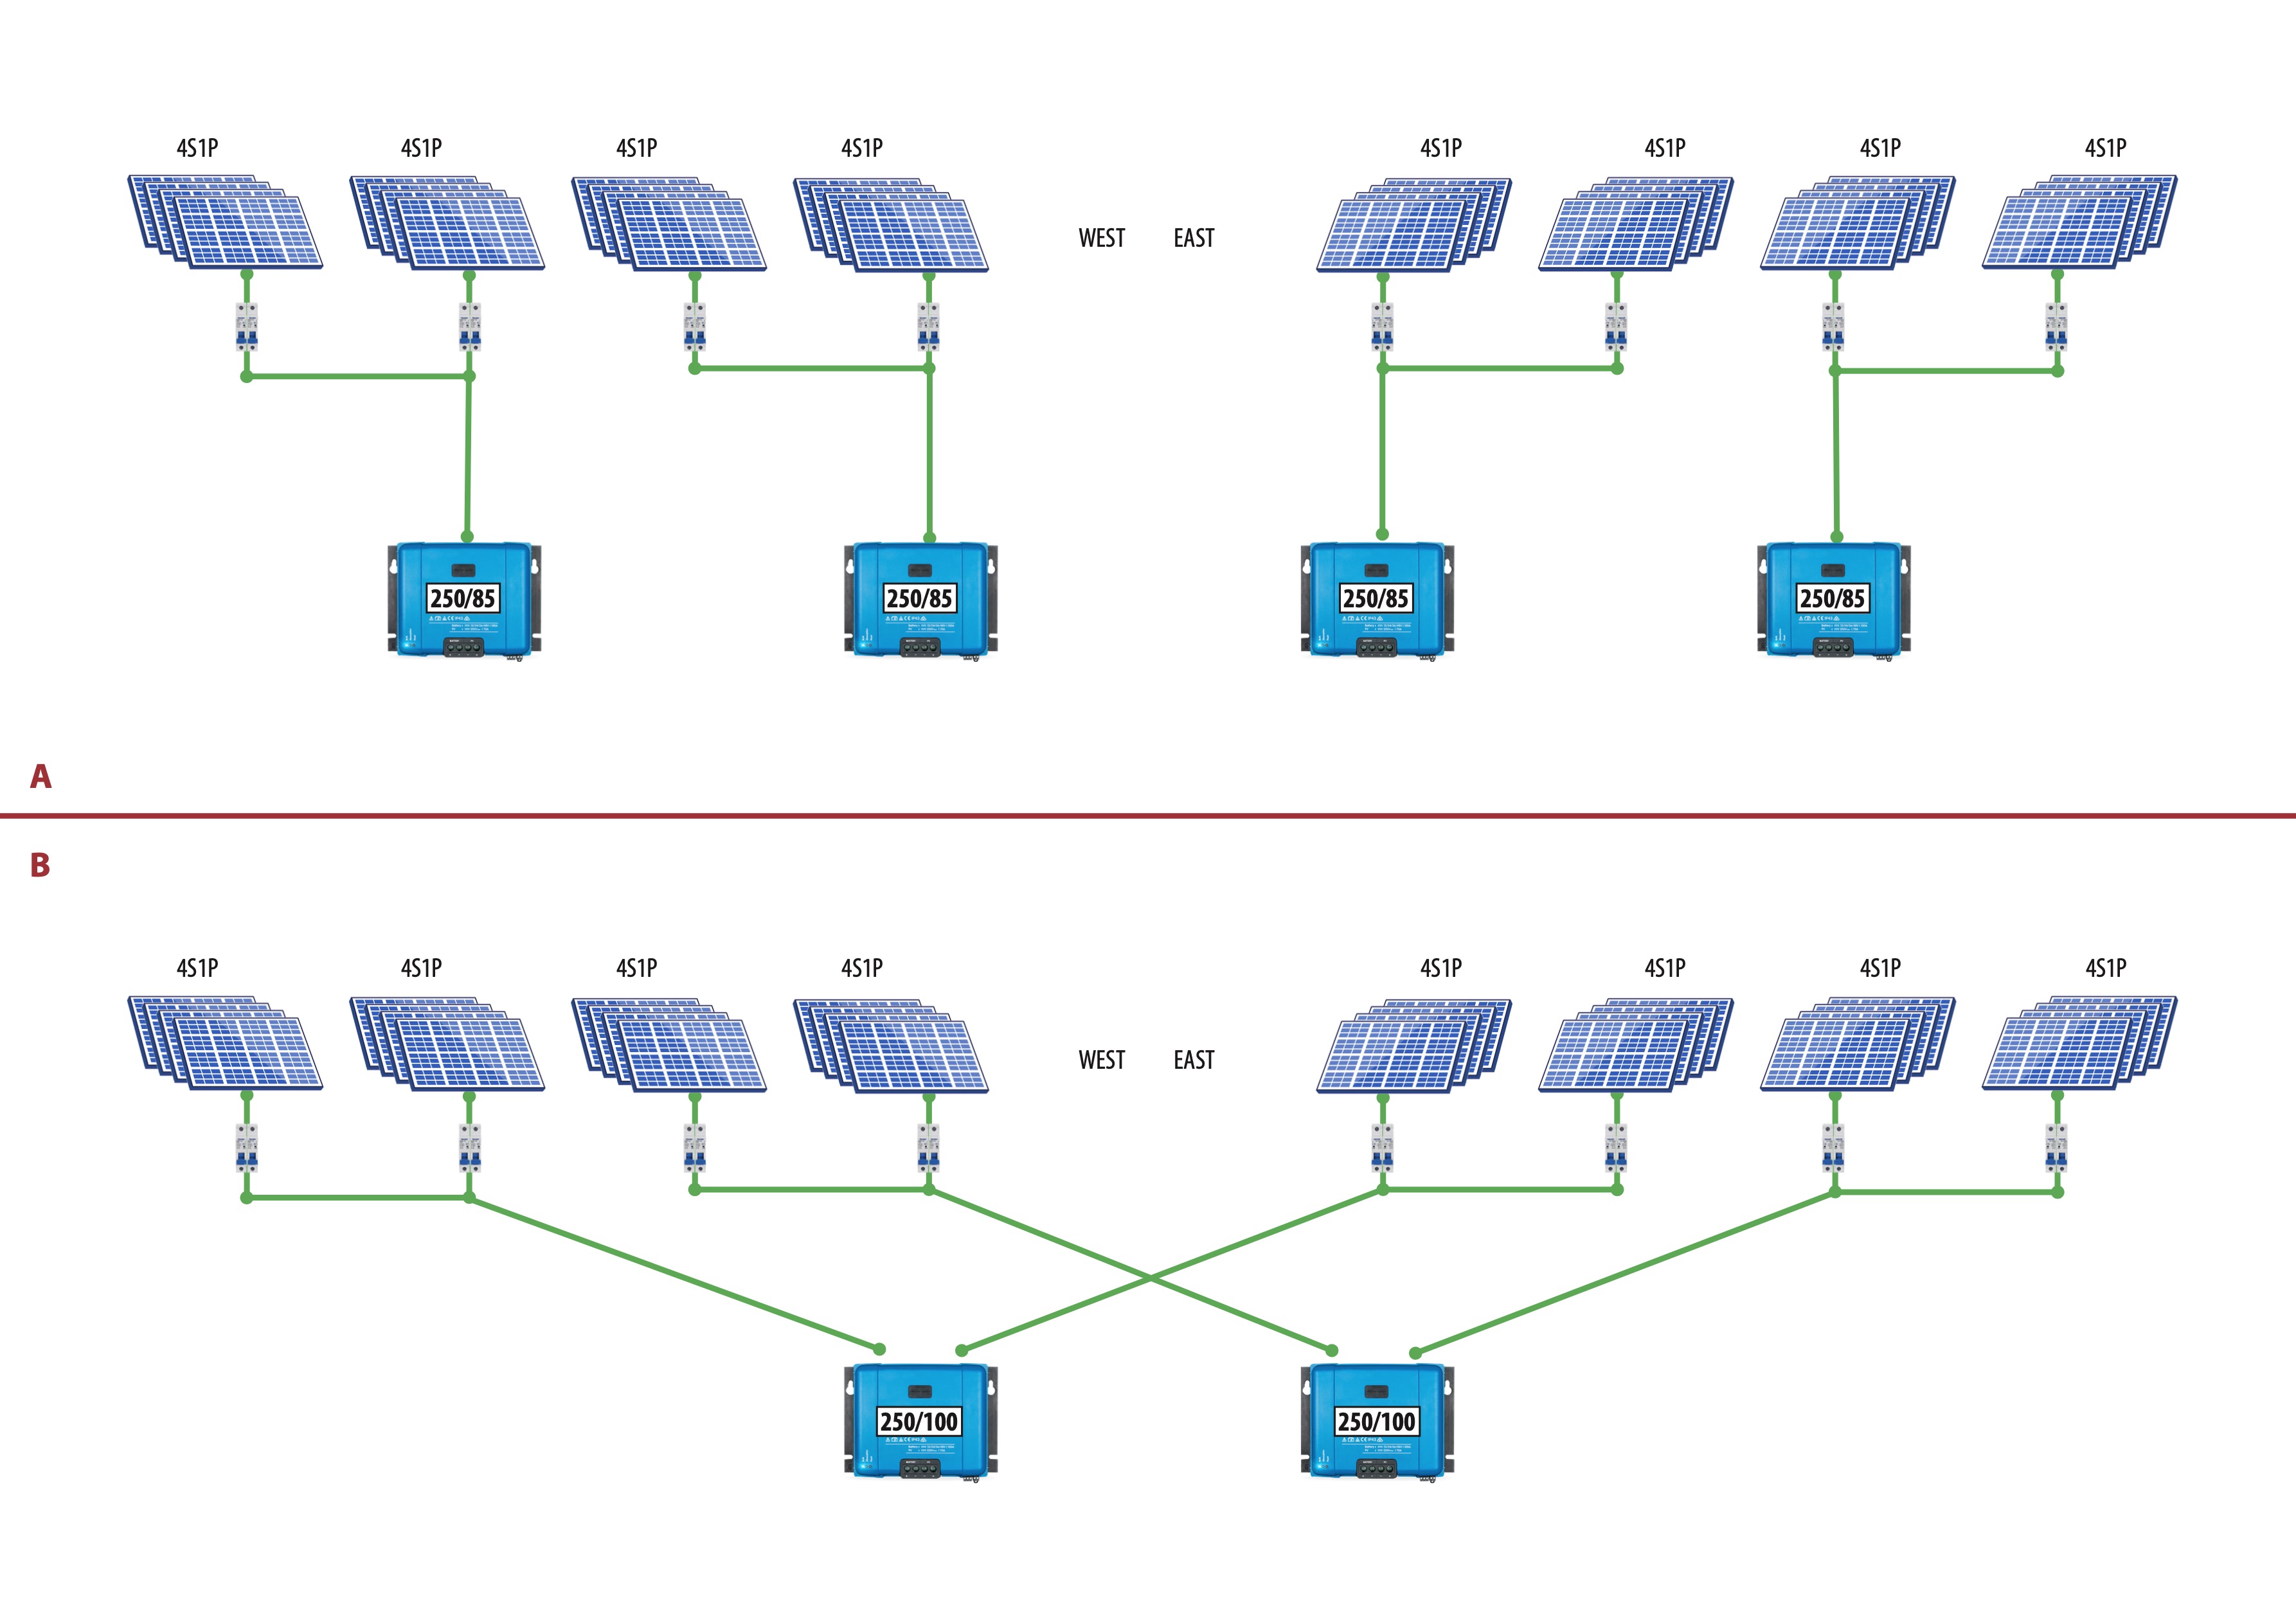
For a detailed treatment of how partial shading affects string configuration choices and how to design strings to minimize shading losses, refer to our engineering post on series vs parallel vs series-parallel solar array wiring.
Array-to-Controller Sizing and Oversizing Limits

One of the most persistent myths in off-grid solar design is that connecting more panels to an MPPT charge controller always produces more energy. It does not. Every MPPT charge controller has a maximum input power rating, a maximum input voltage rating, and a maximum output current rating, and once the array exceeds these limits the controller simply clips the excess, converting potential panel output into heat rather than battery charging energy.
The productive case for oversizing the array relative to the controller’s rated input power is real and well established. In the morning and evening hours when irradiance is below the level needed to drive the controller to its rated output, an oversized array allows the controller to reach its rated output sooner after sunrise and maintain it later into the evening. On days with intermittent cloud cover, an oversized array recovers faster to rated controller output when clouds pass. The net effect is a higher daily energy harvest from the controller even though peak midday output is clipped.
The limit I apply is a maximum array STC rating of 125 to 130 percent of the controller’s rated input power. Beyond this ratio, the additional panel capacity produces diminishing energy returns because clipping losses during peak midday hours begin to outweigh the morning and evening harvest benefits. The formal check is:
Oversizing Ratio = Array STC Rating (W) / MPPT Rated Input Power (W)
Acceptable range: 1.0 to 1.30
Above 1.30: diminishing returns, excessive clipping losses
The second constraint is the controller’s maximum input voltage, which must never be exceeded by the cold-morning string Voc calculated in Section 7. This is a hard limit with no productive oversizing argument. Exceeding the maximum input voltage even momentarily can permanently damage the controller’s input stage, which is a failure mode I have seen on multiple installations where the string configuration was designed to the nominal Voc without the cold temperature correction applied.
The Complete Array Sizing Worked Example
Everything covered across the previous eight sections now comes together into a single worked calculation. I am using the 4,916Wh daily energy demand figure established in Post 3, which already includes intentional loads, phantom loads, and inverter efficiency correction. The installation is a residential off-grid system in a coastal West African location at approximately 6 degrees north latitude.
The sizing inputs for this example are as follows. Worst-month PSH from NASA POWER for the installation coordinates is 4.2 hours per day, occurring during the peak rainy season in July. The array derating factor is calculated from the individual components established in Sections 3 and 4: temperature derating of 0.835 at 66 degrees Celsius cell temperature, soiling factor of 0.95, wiring loss factor of 0.98, mismatch factor of 0.98, and MPPT efficiency of 0.95. The combined derating factor is 0.718. End-to-end charge efficiency is 0.92.
Applying the full sizing equation:
Array STC Rating = E_daily / (PSH x Derating Factor x η_charge)
Array STC Rating = 4,916Wh / (4.2h x 0.718 x 0.92)
Array STC Rating = 4,916Wh / 2.776
Array STC Rating = 1,771W
The minimum required array STC rating for this installation is 1,771W. Rounding up to the nearest practical panel configuration using 400W panels:
Number of Panels = 1,771W / 400W = 4.43 -> round up to 6 panels (3S2P configuration requires an even number for two identical parallel strings)
Total Array STC Rating = 6 x 400W = 2,400W
For the string configuration, the MPPT charge controller selected has a maximum input voltage of 150V and a rated input power of 2,050W. Using panels with a Voc_STC of 41V and a Voc temperature coefficient of negative 0.29 percent per degree Celsius, with a minimum site temperature of 18 degrees Celsius. Two strings of 3 panels in series connected in parallel gives a 3S2P configuration. Both strings have identical Vmp, which is required for safe parallel connection:
Cold Voc check for 3 panels in series:
String Voc_STC = 3 x 41V = 123V
Voc_cold = 123V x (1 + (-0.0029) x (18 - 25))
Voc_cold = 123V x 1.020 = 125.5V
At 125.5V cold Voc against a 150V controller maximum, this string configuration is safe with a 16 percent margin. Both strings are identical 3-panel series strings connected in parallel, giving a 3S2P configuration with 6 panels total. Parallel strings must have equal string voltage to prevent cross-current circulation, which is satisfied here since both strings have the same Vmp at all operating temperatures. Total array output is 2,400W STC at a nominal Vmp of approximately 100V.
The complete sizing summary for this installation:
| Parameter | Value |
| Daily Energy Demand | 4,916Wh |
| Worst-Month PSH | 4.2 h/day |
| Combined Derating Factor | 0.718 |
| Charge Efficiency | 0.92 |
| Minimum Array STC Rating | 1,771W |
| Selected Array Configuration | 6 x 400W (3S2P) |
| Total Array STC Rating | 2,050W |
| Cold Morning String Voc | 125.5V |
| Controller Max Input Voltage | 150V |
| Voltage Safety Margin | 16% |
| Oversizing Ratio | 1.17 (2,400W array / 2,050W controller) |
Every number in this table traces directly back to a measured or verified input. The daily energy demand came from a completed load audit. The PSH came from NASA POWER for the specific installation coordinates. The derating factor was calculated from measured ambient temperature and panel datasheet values. This is what a defensible array sizing calculation looks like.
Conclusion
Solar array sizing for an off-grid lithium battery system is a cascading calculation where every input compounds against the others, and where the discipline of using worst-month data rather than annual averages is what separates a system that performs reliably across every season from one that fails its owners during the months when they need it most.
The sequence I have walked through in this post, from corrected daily energy demand through worst-month peak sun hours, array derating, temperature correction, charge efficiency, tilt optimization, string configuration, and controller sizing, is not a conservative approach to array design. It is the correct approach. Every factor in that sequence has a real physical basis, every loss is measurable, and every input can be verified against site data and component datasheets before a single panel is purchased.
What the worked example in Section 9 demonstrates is that a 4,916Wh daily energy demand in a coastal West African location with 4.2 worst-month peak sun hours and a realistic 0.718 derating factor requires approximately 2.4kW of installed STC array capacity to meet that demand reliably. A designer who used annual average PSH of 5.5 hours and an optimistic derating factor of 0.85 would have calculated a required array size of approximately 1,050W, less than half the correct answer.
That undersized array would perform adequately for eight months of the year and fail consistently for four, which in a residential off-grid installation is not an acceptable outcome. The correct answer is approximately 2.4kW of installed STC array capacity in a 3S2P configuration, derived from first principles with no optimistic assumptions applied anywhere in the chain.
In the next post in this series we will examine series, parallel, and series-parallel solar array wiring configurations in detail, covering exactly when to use each topology and how string design decisions affect shading behavior, fault tolerance, and MPPT performance across the full operating range of the array.
For the load audit foundation that feeds the daily energy demand figure used in this post, refer to our engineering guides on off-grid load audit methodology and battery sizing, phantom load accounting in off-grid energy budgets, and peak load vs average load in off-grid system design.

Hi, i am Engr. Ubokobong a solar specialist and lithium battery systems engineer, with over five years of practical experience designing, assembling, and analyzing lithium battery packs for solar and energy storage applications, and installation. His interests center on cell architecture, BMS behavior, system reliability, of lithium batteries in off-grid and high-demand environments.